Introduction to Pâtisserie - Puff the Magic Pastry
Puff Pastry today - by popular request!
We are as yet too uncouth for proper puff pastry, which Aaron portentously informs us is level 3 work, whatever that is. And so it is but rough pastry for us!
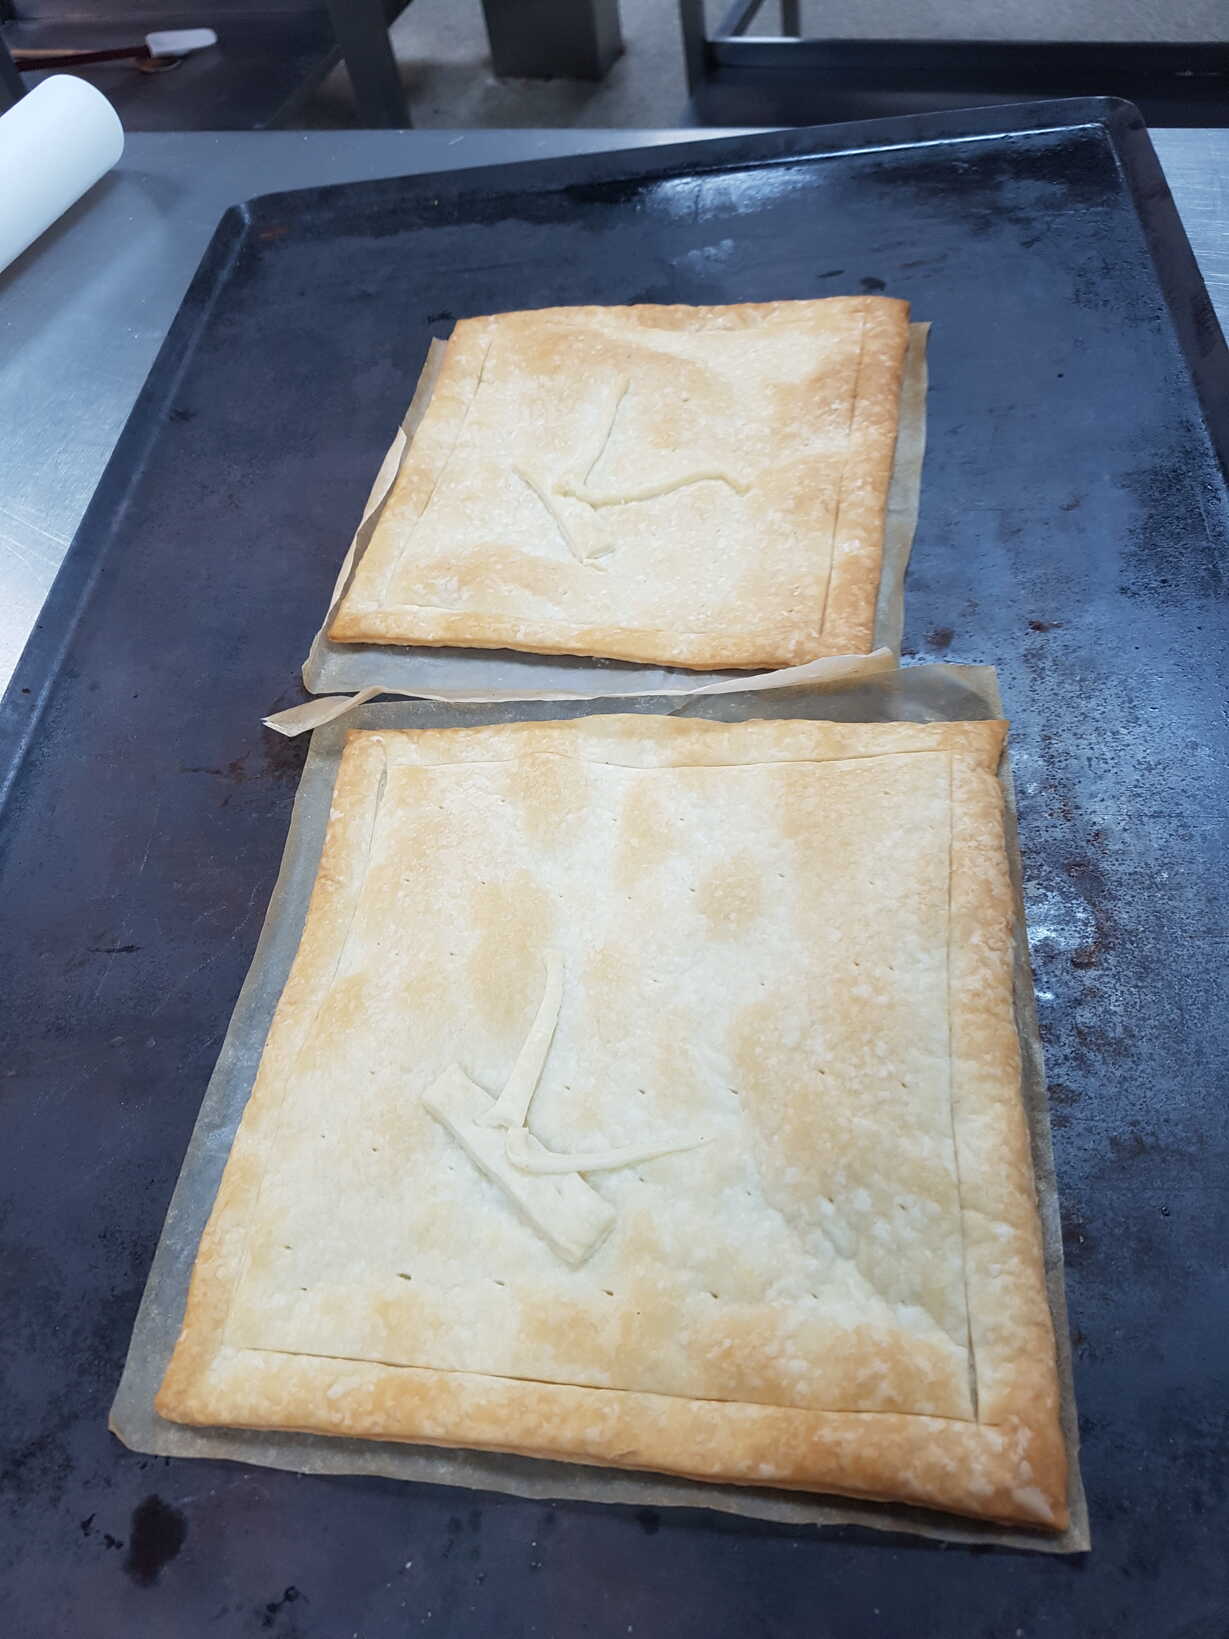
We started the class by baking some squares from a pre-made roll of puff pastry:
Lightly score a border around the inside of the puff pastry squares and prick all over the inside of these lines to discourage the centre from rising as much as the edges.
This didn't really work at all, but then the commercial puff pastry we were using didn't really rise very well anyway.
You could cut extra strips and glue them around the edge with egg wash instead I suppose.
Bake for 12 minutes at 180°C then fill the centres with crème pâtissière.
We are as yet too uncouth for proper puff pastry, which Aaron portentously informs us is level 3 work, whatever that is. And so it is but rough pastry for us!
We started the class by baking some squares from a pre-made roll of puff pastry:
Lightly score a border around the inside of the puff pastry squares and prick all over the inside of these lines to discourage the centre from rising as much as the edges.
This didn't really work at all, but then the commercial puff pastry we were using didn't really rise very well anyway.
You could cut extra strips and glue them around the edge with egg wash instead I suppose.
Bake for 12 minutes at 180°C then fill the centres with crème pâtissière.
menu
Rough Puff Pastry
class ingredient
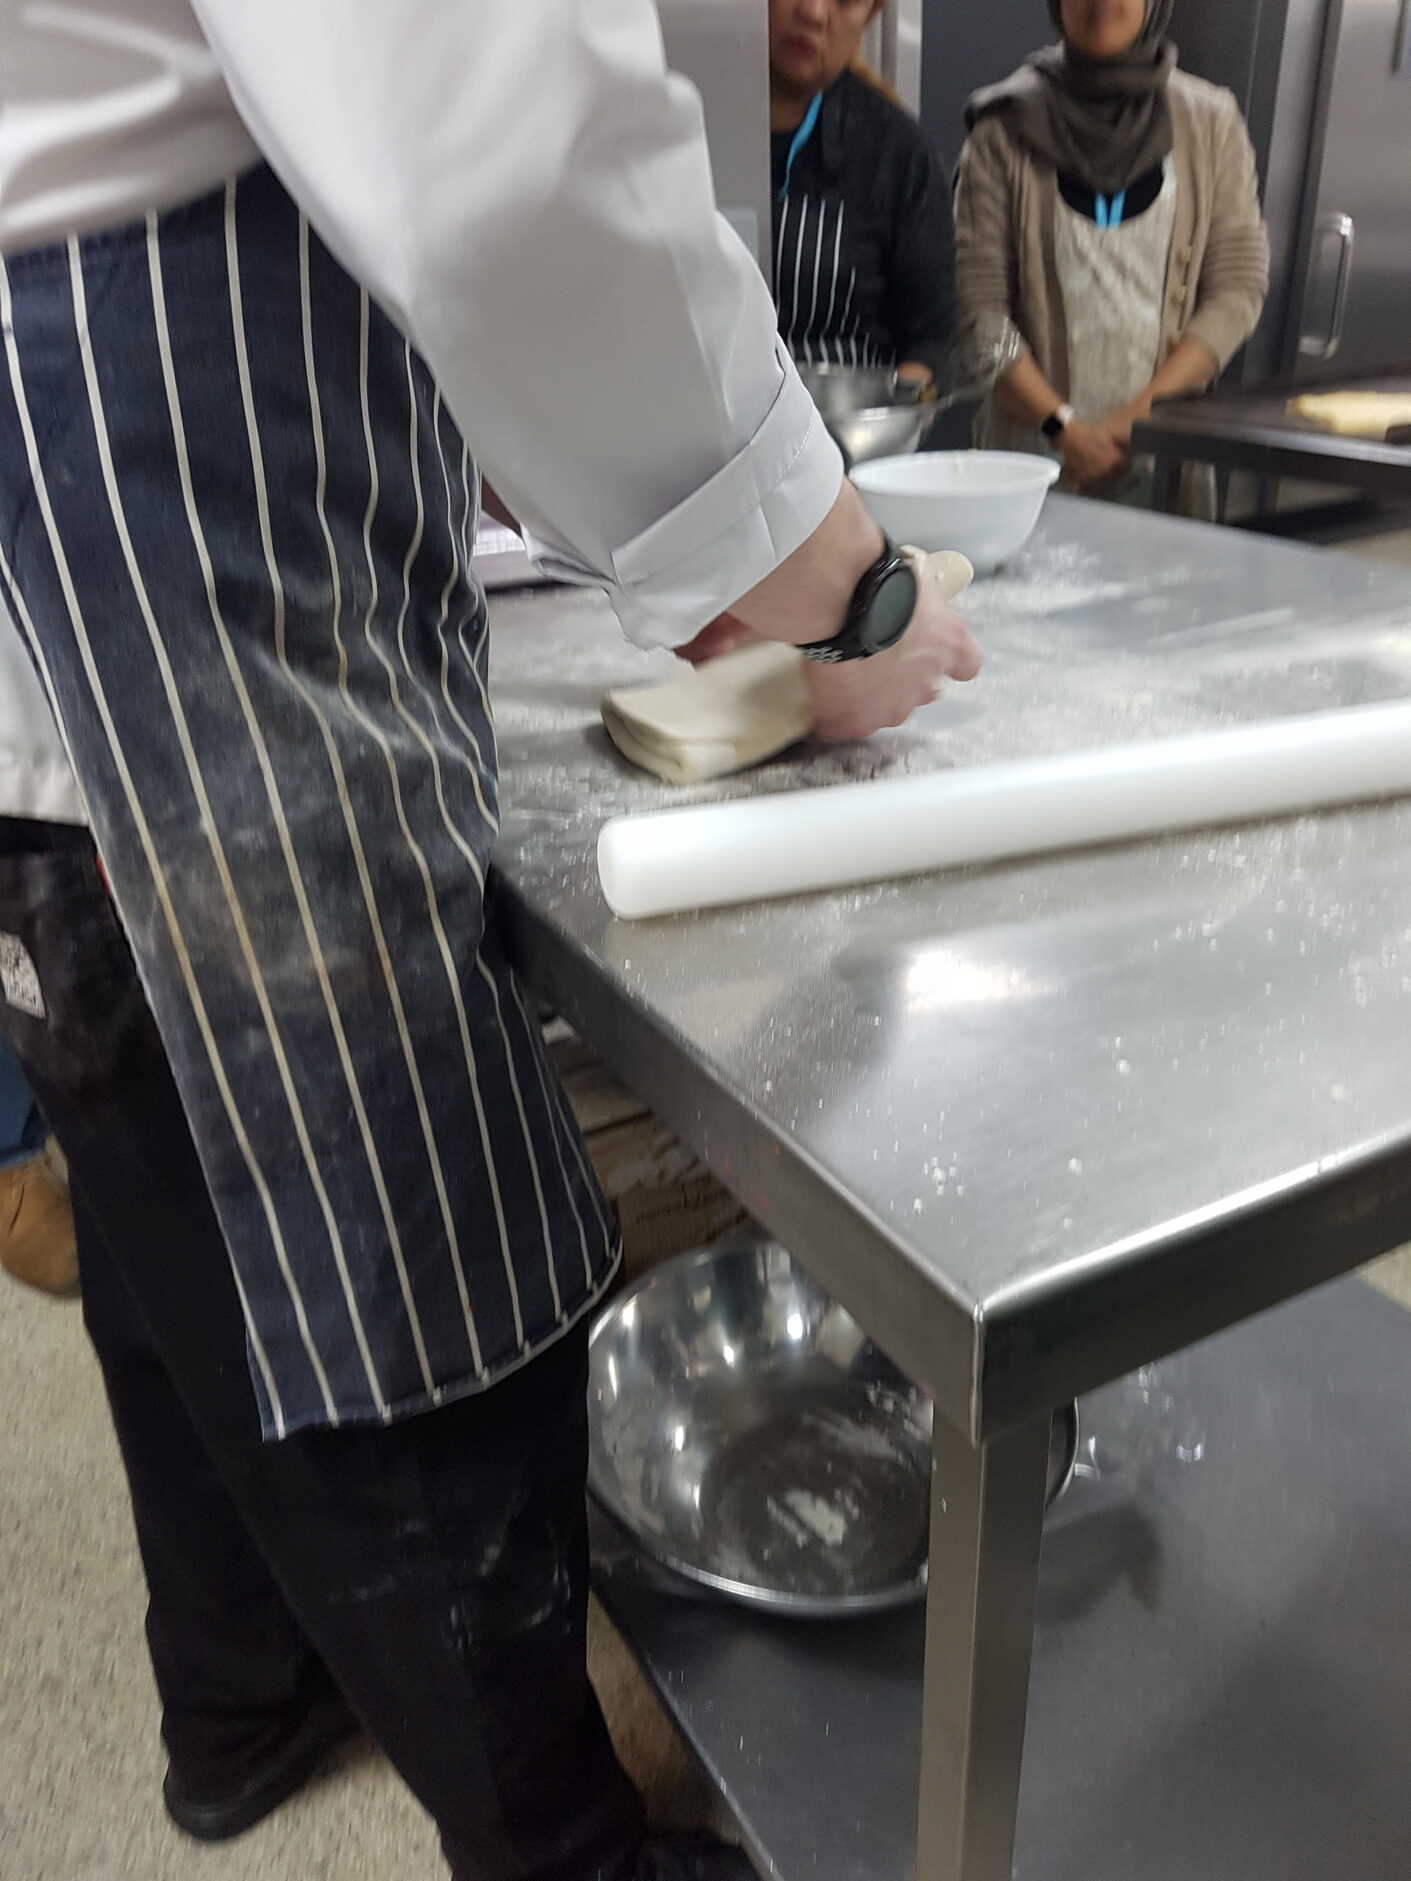
Our puff pastry was only rough in the sense that it was made with less inter-fold chilling, and fewer folds than the real deal.
There's an even rougher form of rough puff pastry as made by Dan Lepard which just involves mixing chunks of cold butter into the dough before folding.
Some pastry chefs, including Aaron, swear by adding vinegar or lemon juice to their dough. Supposedly the acid inhibits the formation of long gluten strands making the pastry lighter, flakier and less chewy.
Maybe it's even true?
The recipe below is not quite the one Aaron used though, so watch this space...
Makes about 1½lb
Ingredients
For the Dough:- 300g all-purpose flour
- ½ teaspoon salt
- 120ml cold water
- 2 tablespoons (30g) unsalted butter, melted
For the Butter Block:- 225g unsalted butter, chilled and rolled flat
In a large mixing bowl, combine the flour and salt.
Add the melted butter and cold water to the flour mixture. Mix until a rough dough forms.
Turn the dough onto a floured surface and knead lightly for about a minute until it comes together and is smooth.
Shape the dough into a flat rectangle, wrap it in plastic wrap, and refrigerate for at least 30 minutes.
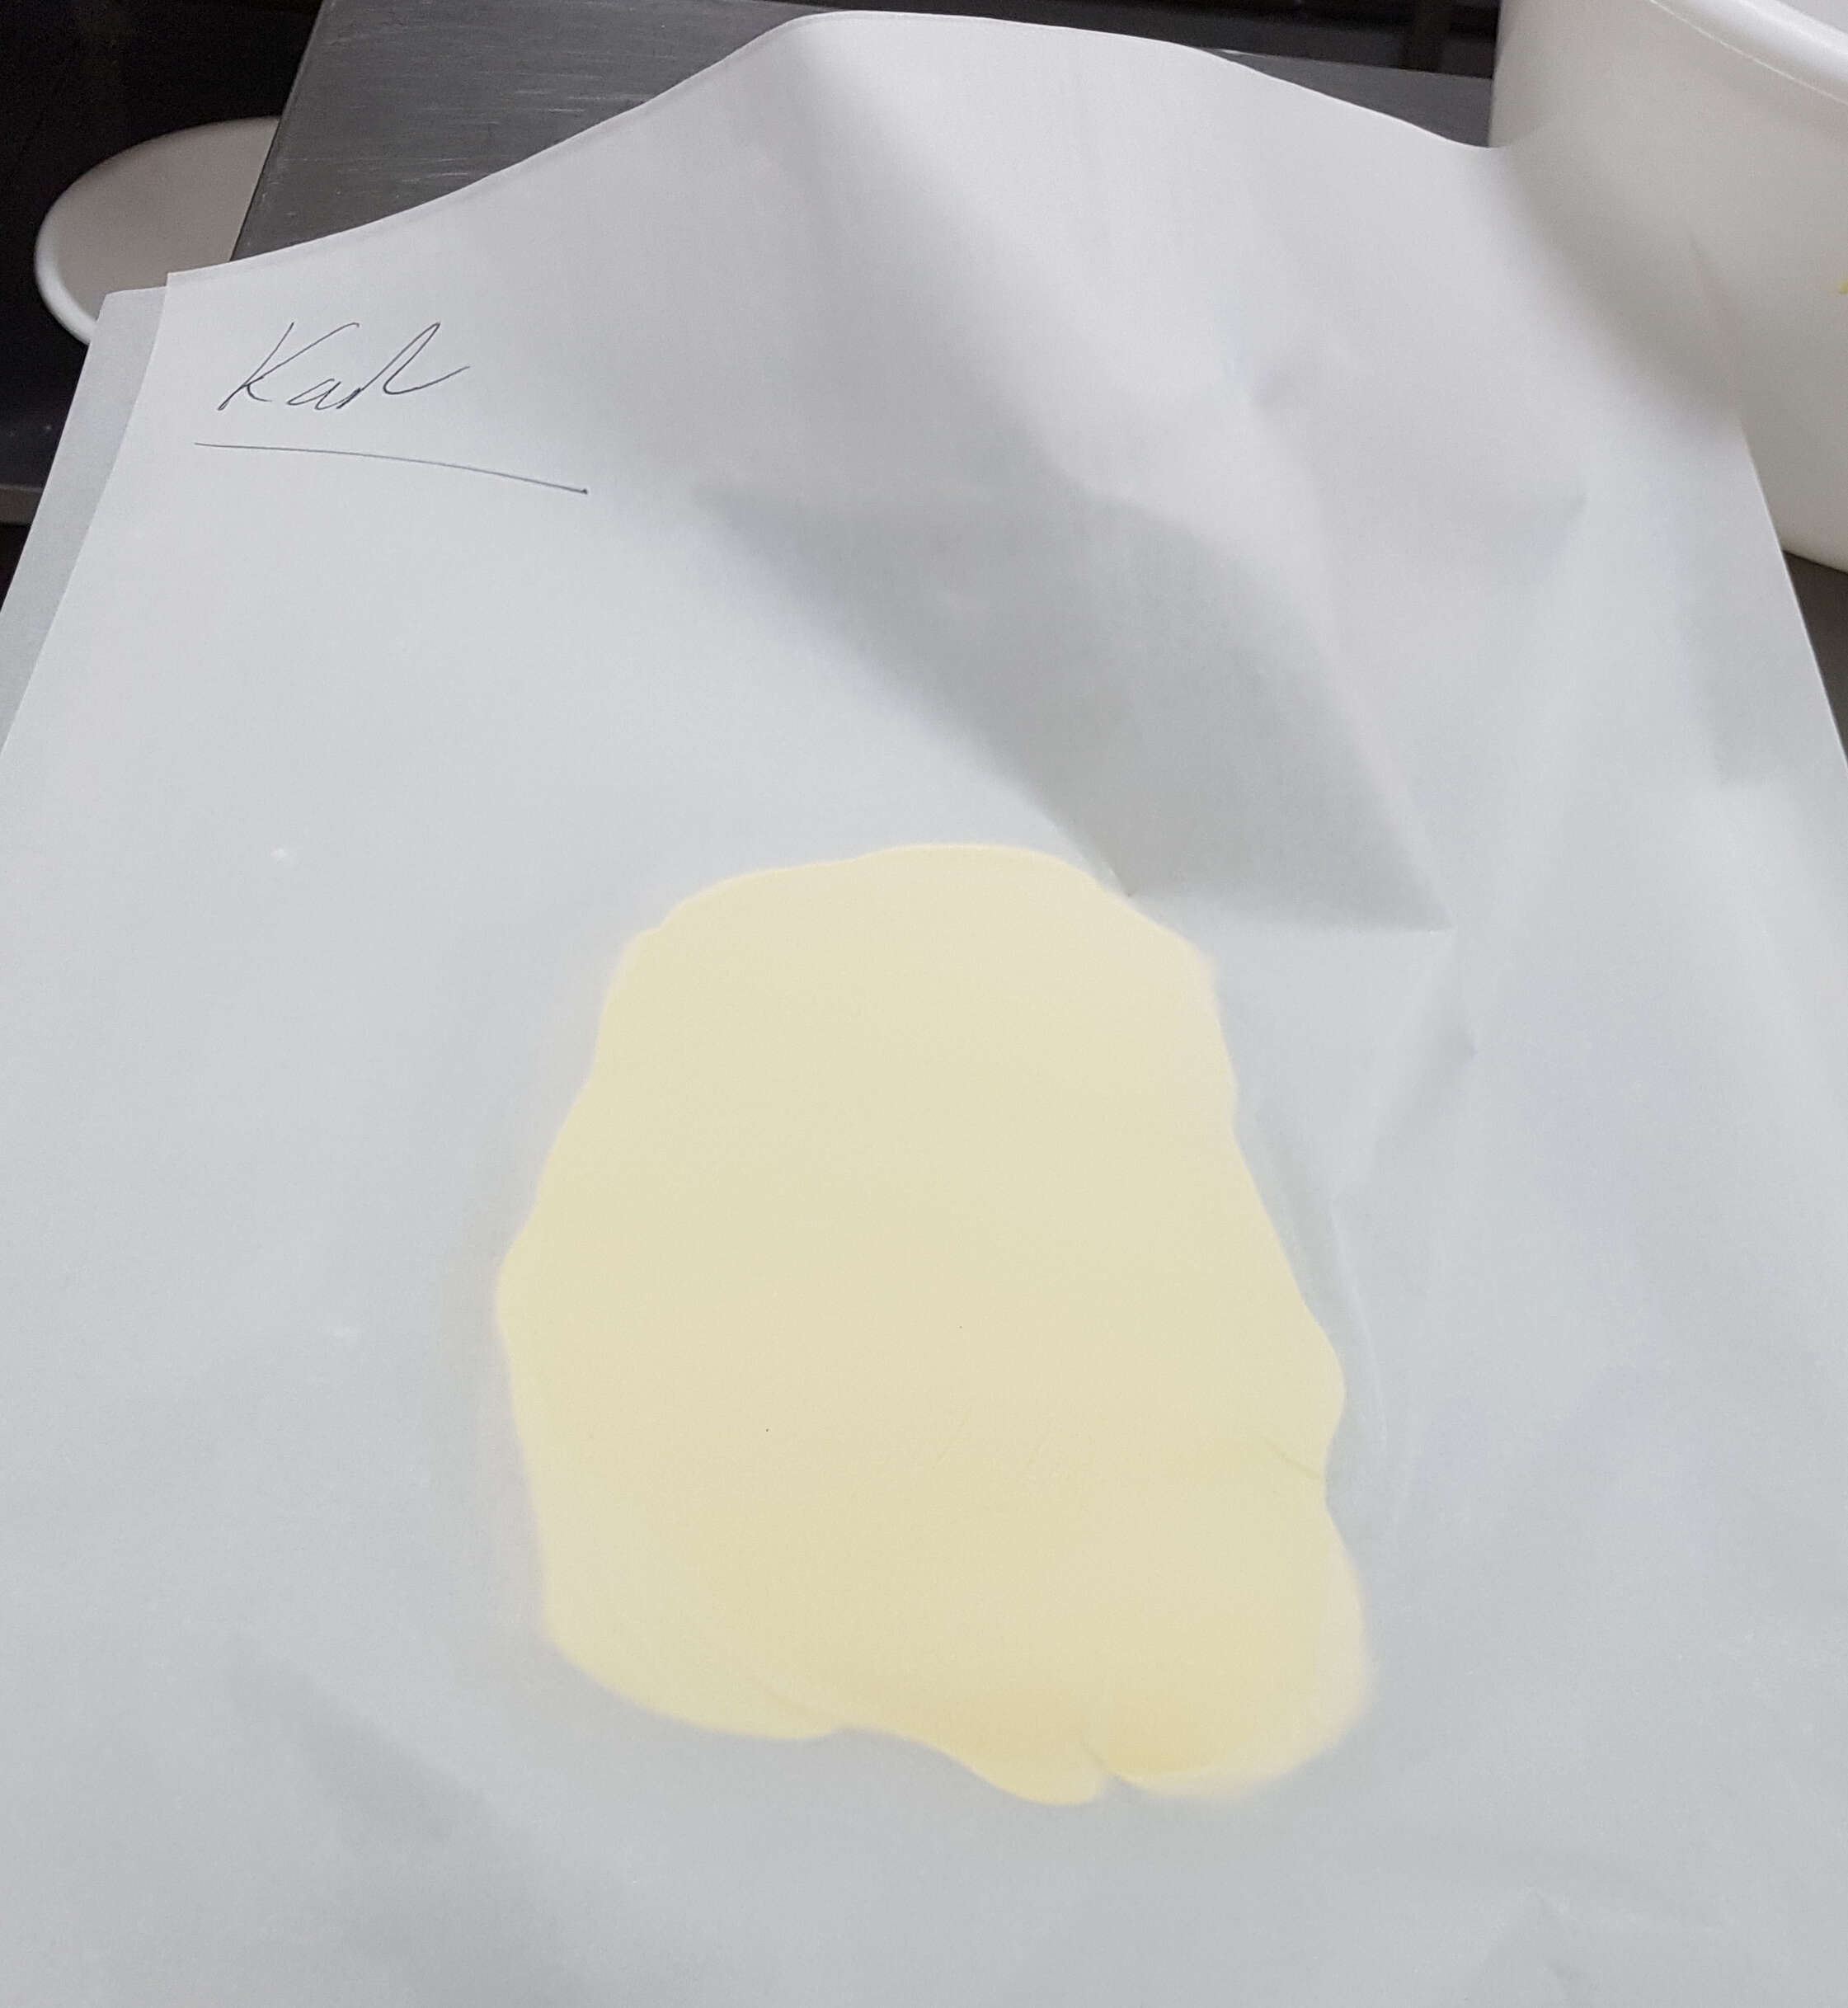
Place the chilled butter between two sheets of parchment paper.
Use a rolling pin to pound and shape the butter into a flat rectangle, about ½" thick. Ensure it's still flexible but still cool. Return it to the fridge if it becomes too soft.
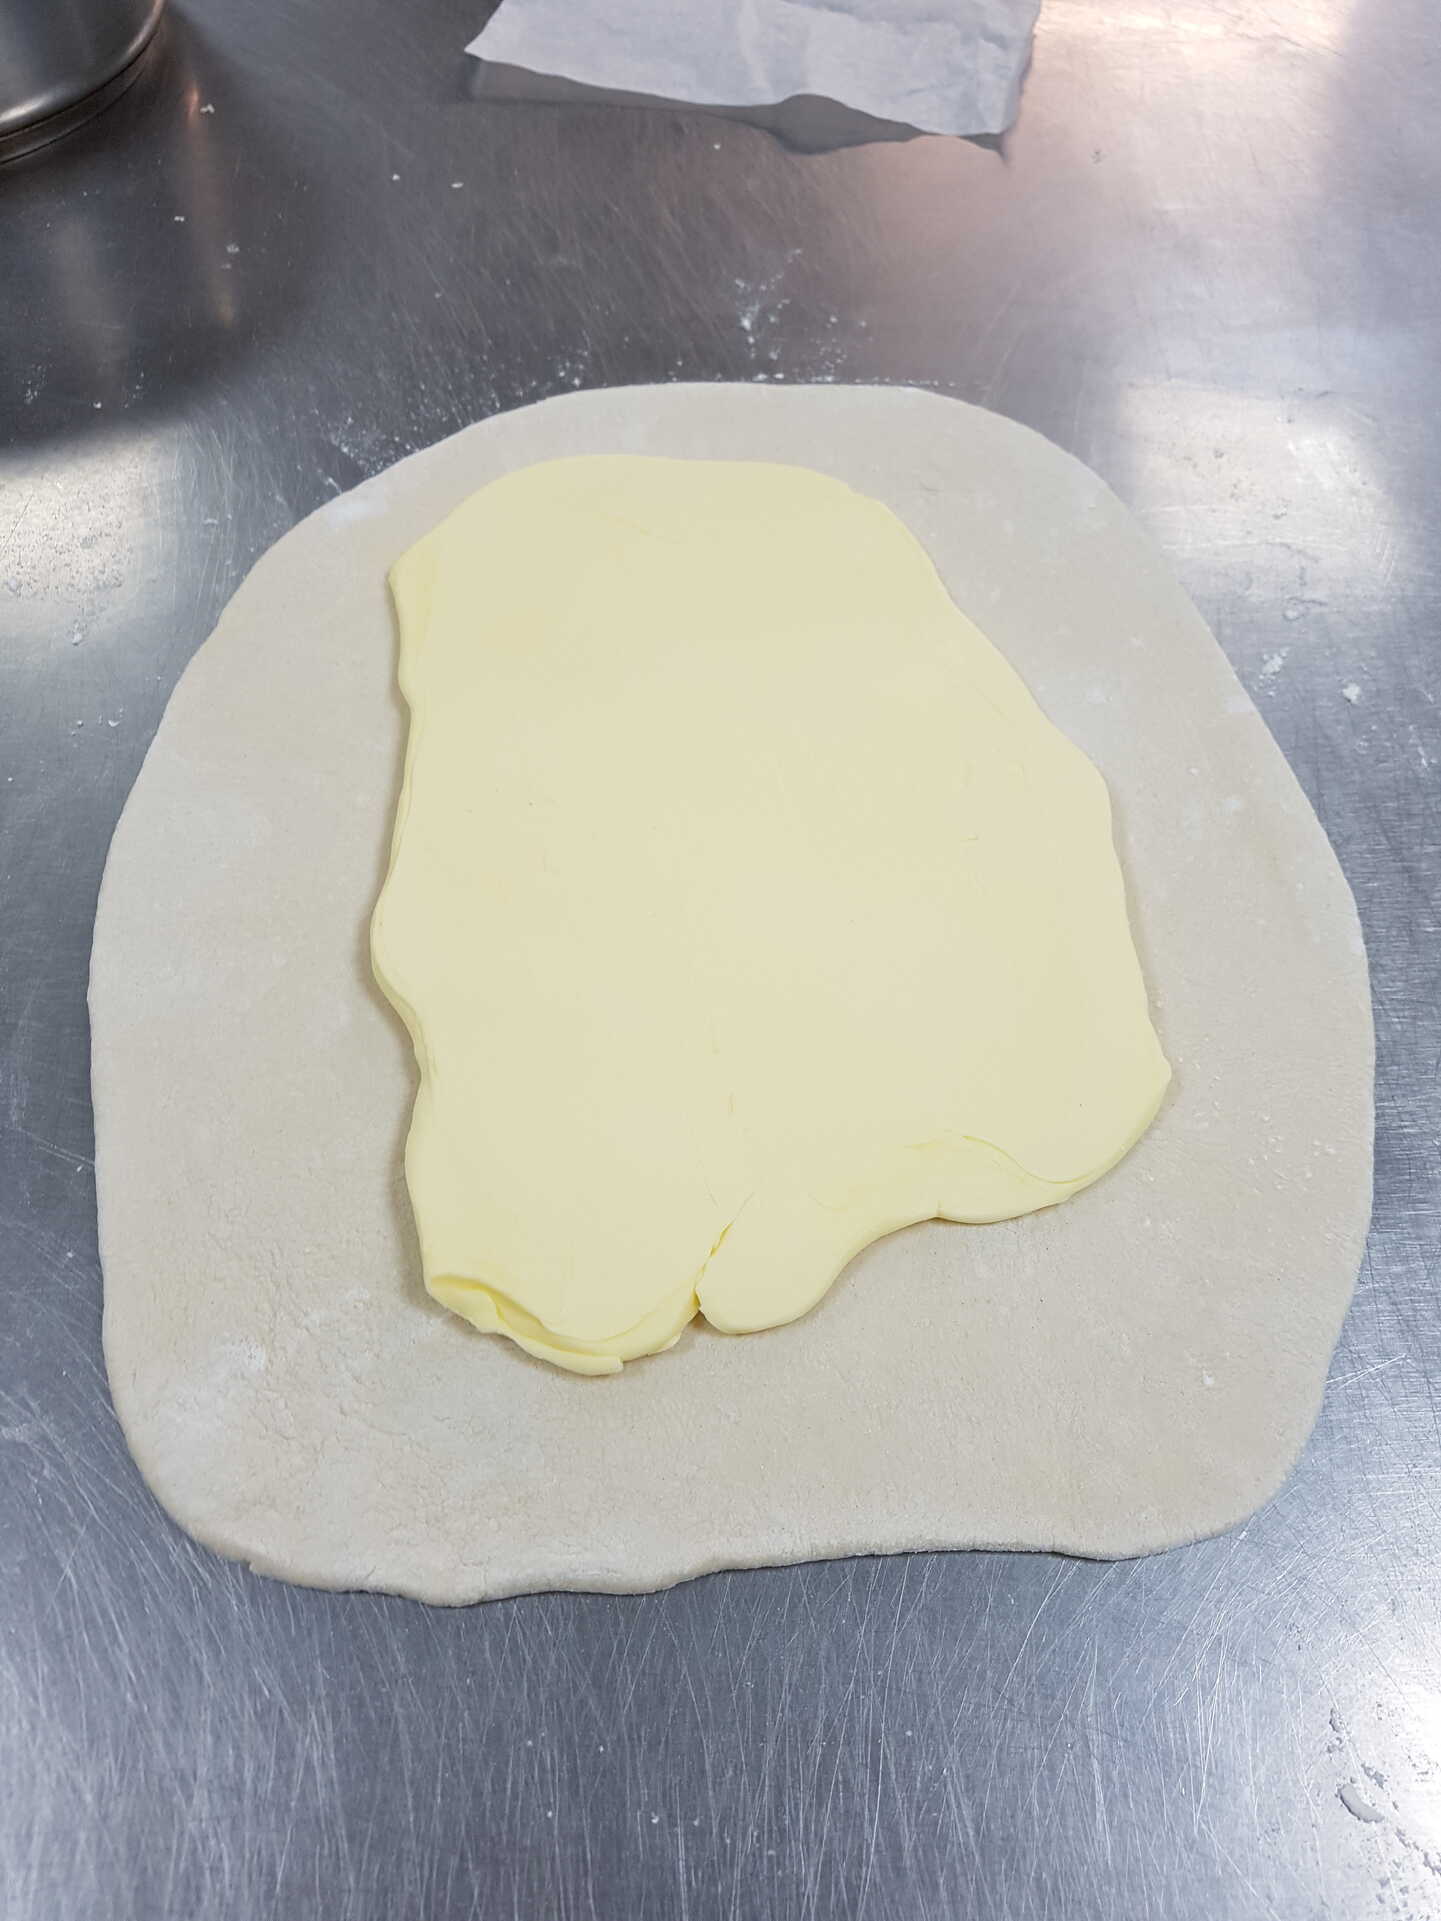
On a lightly floured surface, roll out the dough into a rectangle twice the size of the butter block.
Place the butter block in the centre of the dough. Fold the dough over the butter like and envelope, fully encasing the butter.
Fold the dough into thirds, like a letter. This is the first turn.
Rotate the dough 90 degrees and repeat the rolling and folding process. This completes the second turn.
Wrap the dough in plastic wrap and refrigerate for at least 30 minutes.
After the final turn, wrap the dough tightly in plastic wrap and chill for at least 1 hour (or up to 24 hours) before using.
Use or Store
The puff pastry is now ready to be rolled out and used in your recipe. You can also freeze it for up to 2 months.
Add the melted butter and cold water to the flour mixture. Mix until a rough dough forms.
Turn the dough onto a floured surface and knead lightly for about a minute until it comes together and is smooth.
Shape the dough into a flat rectangle, wrap it in plastic wrap, and refrigerate for at least 30 minutes.
Actually we just put ours to one side while we prepared our crème pâtissière.
Prepare the Butter BlockPlace the chilled butter between two sheets of parchment paper.
Use a rolling pin to pound and shape the butter into a flat rectangle, about ½" thick. Ensure it's still flexible but still cool. Return it to the fridge if it becomes too soft.
We put ours into the freezer-chiller for 15 minutes to firm up before continuing.
When using, wait until it is soft enough to fold before, er, folding in.
FoldOn a lightly floured surface, roll out the dough into a rectangle twice the size of the butter block.
Place the butter block in the centre of the dough. Fold the dough over the butter like and envelope, fully encasing the butter.
Ours folded over without much overlapping of the dough.
Make sure the butter is sufficiently pliable before folding further.
Roll the dough into a long rectangle about ½" thick.Make sure the butter is sufficiently pliable before folding further.
Fold the dough into thirds, like a letter. This is the first turn.
Rotate the dough 90 degrees and repeat the rolling and folding process. This completes the second turn.
Wrap the dough in plastic wrap and refrigerate for at least 30 minutes.
We just let the wrapped dough rest on the side for 10 minutes without chilling between folds.
We did something like 4 turns. Which is why this is only a rough puff.
Repeat the rolling and folding process 4 more times, chilling the dough for at least 30 minutes between every 2 turns. This will give you a total of 6 turns.We did something like 4 turns. Which is why this is only a rough puff.
After the final turn, wrap the dough tightly in plastic wrap and chill for at least 1 hour (or up to 24 hours) before using.
Use or Store
The puff pastry is now ready to be rolled out and used in your recipe. You can also freeze it for up to 2 months.
I have frozen mine. I guess I'll report back in 2 months!
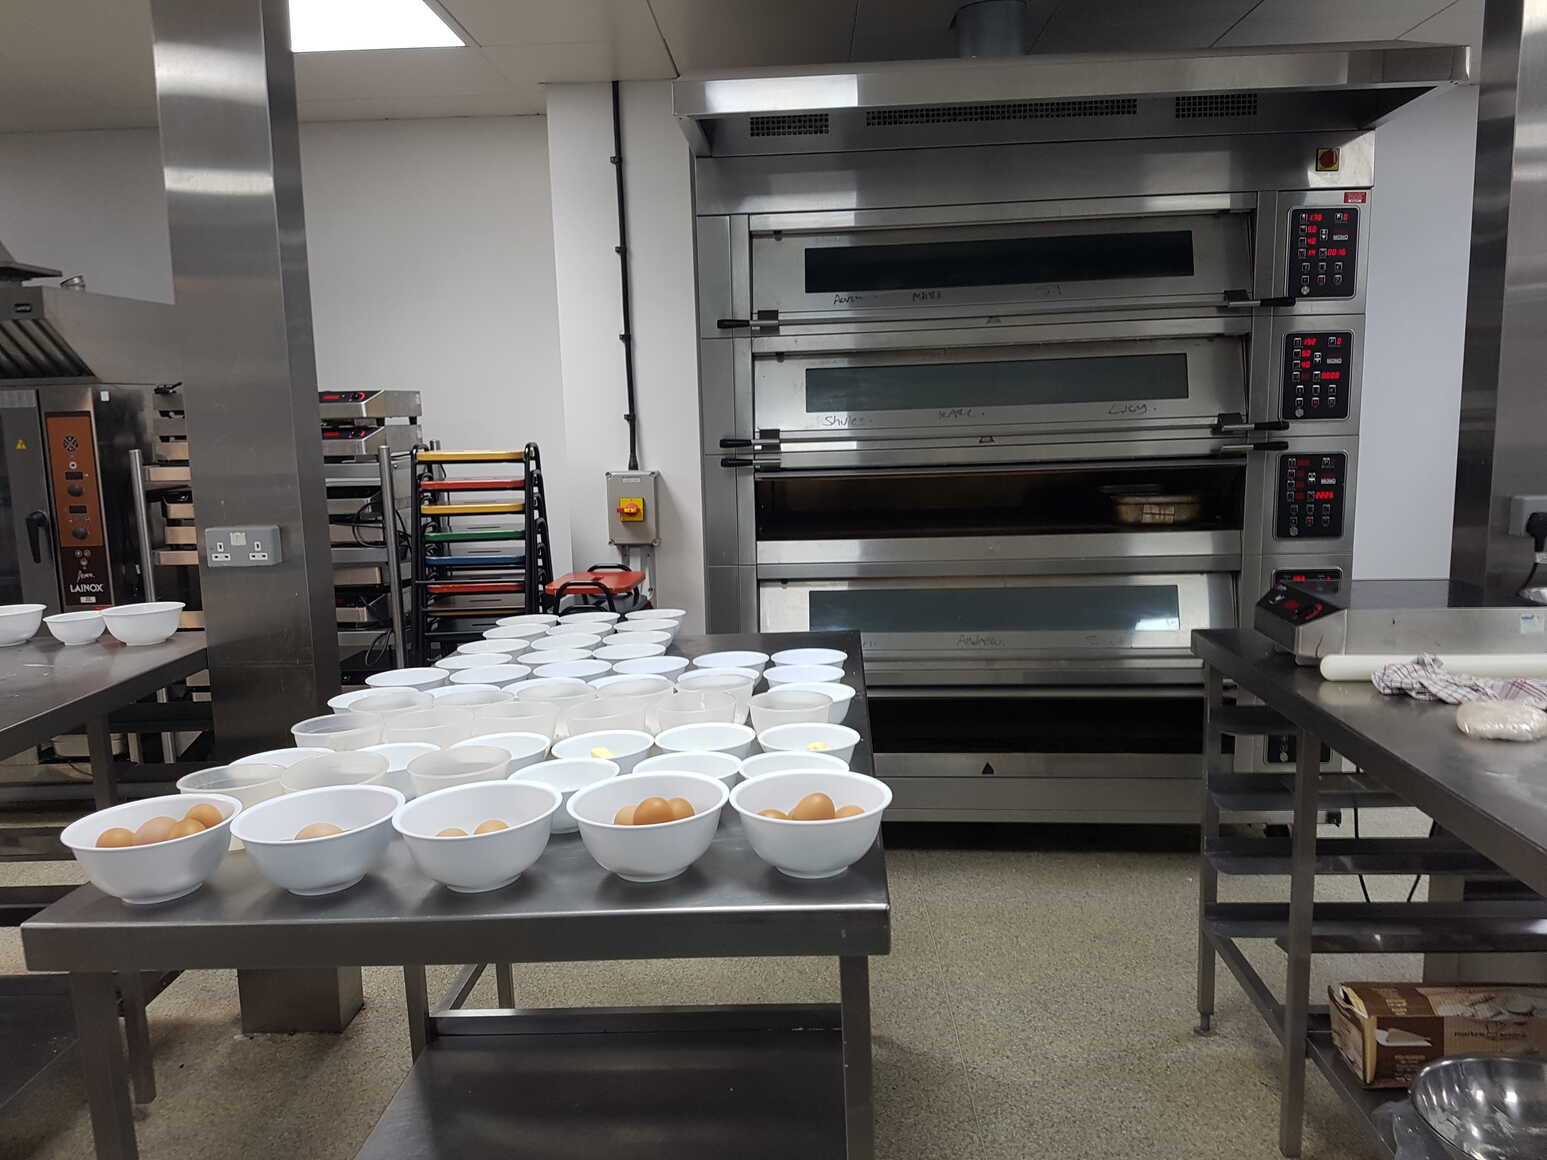
Crème Pâtissière
class sweet ingredient
This is usually called Pastry Cream in English, and it is distinguished from good old fashioned custard by the addition of a stabilising starch like cornflour.
It was supposedly developed in 1691 by François Massialot, chef to various relatives of King Louis XIV, and also the credited inventor of crème brûlée.
So quite the pedigree.
It was supposedly developed in 1691 by François Massialot, chef to various relatives of King Louis XIV, and also the credited inventor of crème brûlée.
So quite the pedigree.
Makes about 1½lb
Ingredients
- 500ml whole milk
- 100g caster sugar
- 4 large egg yolks
- 70g cornflour
- 30g unsalted butter, cut into pieces
- 1 teaspoon vanilla extract (or 1 vanilla bean, split and scraped)
In a medium saucepan, heat the milk over medium heat until it begins to simmer.
If using a vanilla bean, add it to the milk and bring it just to a boil.
Remove from heat and let it steep for 10 minutes. Remove the vanilla bean pod if using.
Gradually pour about half of the hot milk into the egg mixture, whisking constantly to prevent the eggs from curdling. This step is called tempering - it's how you avoid making scrambled eggs 🙂
Pur the tempered egg mixture back into the saucepan with the remaining milk. Return the saucepan to medium heat and cook, whisking constantly like a loon!, until the mixture thickens and comes to a boil. This should take 2-3 minutes.
Once the mixture begins to boil, continue cooking for an additional 1-2 minutes to cook out the starchy taste, while whisking continuously to prevent it from sticking to the bottom of the pan.
We just heated up the milk so it showed wisps of steam.
In a separate bowl, whisk together the egg yolks, sugar and cornflour until the mixture is smooth and pale yellow.Gradually pour about half of the hot milk into the egg mixture, whisking constantly to prevent the eggs from curdling. This step is called tempering - it's how you avoid making scrambled eggs 🙂
Pur the tempered egg mixture back into the saucepan with the remaining milk. Return the saucepan to medium heat and cook, whisking constantly like a loon!, until the mixture thickens and comes to a boil. This should take 2-3 minutes.
Once the mixture begins to boil, continue cooking for an additional 1-2 minutes to cook out the starchy taste, while whisking continuously to prevent it from sticking to the bottom of the pan.
We didn't really boil ours, in fact it thickened aggressively long before coming to the boil.
Maybe we had a bit too much cornflour?
If it lumps up, you should be able to whisk it smooth again if you haven't over-cooked it.
Remove the saucepan from the heat and whisk in the butter and vanilla extract (if using instead of the vanilla bean) until smooth.
Maybe we had a bit too much cornflour?
If it lumps up, you should be able to whisk it smooth again if you haven't over-cooked it.
Not my favourite custard if I'm honest - I find it has an unpleasantly greasy texture.